 |
|||||
|
Washington, NC Real Estate - A cool site with real estate information in Washington, Bath, and Belhaven, North Carolina. Greenville, NC Real Estate - Another real estate site with information for Greenville and Winterville, NC. Morehead City, NC Real Estate - Another real estate site with information for Atlantic Beach and Emerald Isle, NC. Jacksonville, NC Real Estate - A real estate site with information for Jacksonville, NC and Richlands, NC and homes for sale. |
Audio Componets: Computer Controlled Speaker RelayI have always wanted the ability in my automation setup to control which speakers were on or off around the house. This would allow me control which rooms the house music system will output music to so that if someone was sleeping or watching a movie downstairs, I could listen to music in another room without disturbing them. It would also give me the ability to control which rooms the house would speak to, if specified. For example, if I pressed a button on the wall in the master bedroom that prompted some speech output, the house would only speak to me in the master bedroom – thus not confusing or bothering anyone else in the house
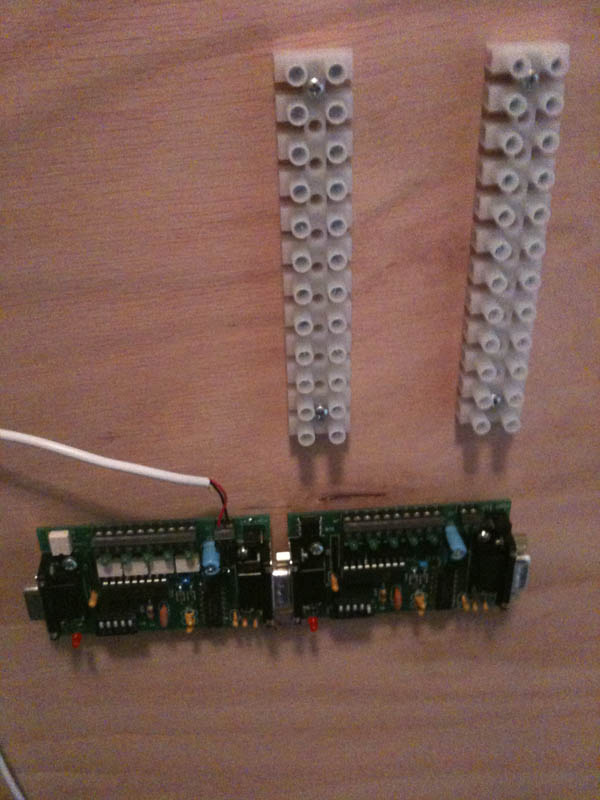
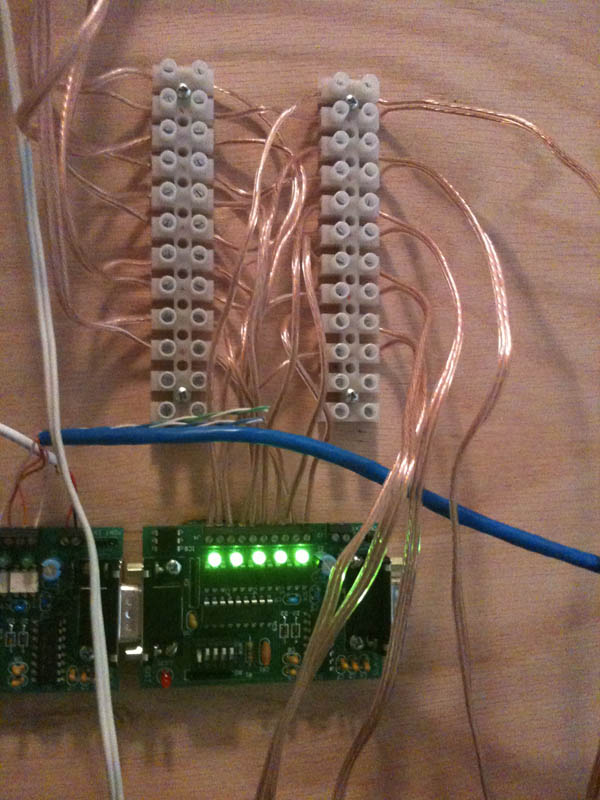
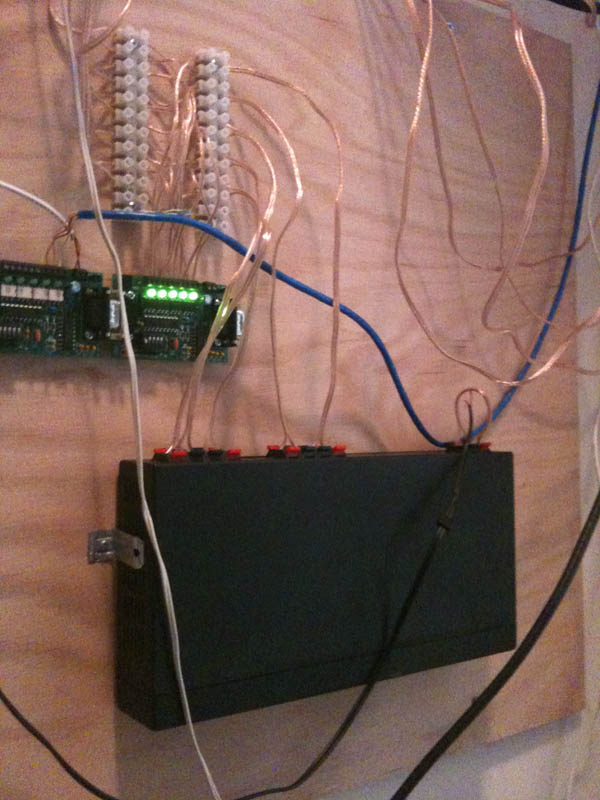
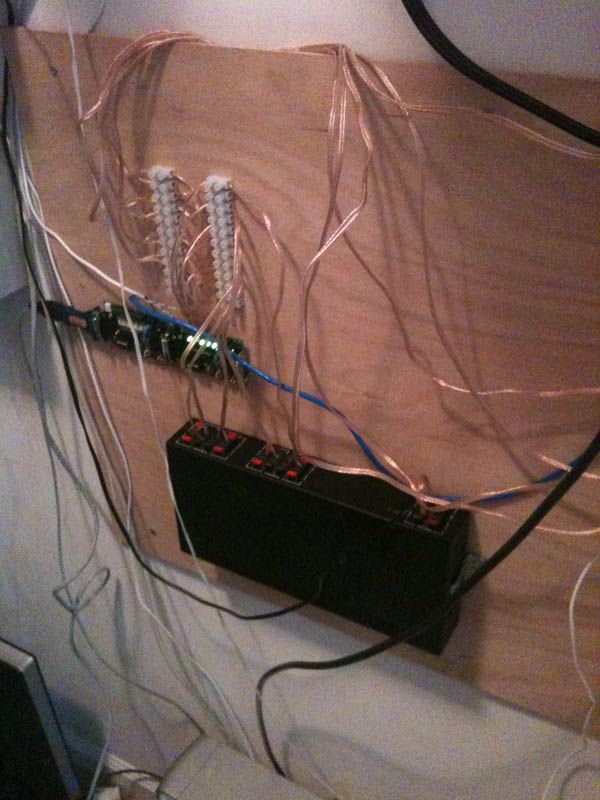
 After the project board was installed, the next step was to mount my two WTSSR-M modules I have (I used another WTSSR-M in my security system to control the deadbolt). My solution was to carefully remove two of the screws diagonal from each other that held the serial port connectors down on the boards and replace them with longer wood screws. This way I could mount the relay boards without having to drill another screw hole in them, which could be very dangerous to the electronic components. 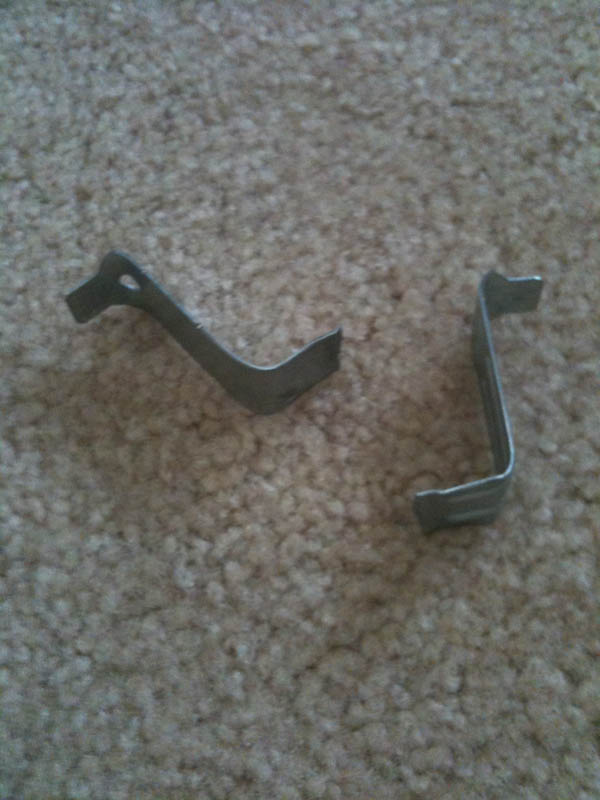 I wanted to place the Sima SSW-4 speaker selector on my project board as well so that I would not have to run a bunch of wires to a shelf. The only problem is that the speaker selector has absolutely no mounting holes that I could see without tearing it apart. It took some brainstorming, but I finally figured out a solution. On both sides of the speaker selector there are air vents that keep air flowing through the device. I found some old blank PCI slot inserts that are used to cover up unused PCI slots on the back of a standard PC computer case. The flat points that would normally hold the insert into the PC case fit perfectly into the slots of the air vents on the speaker selector. With this in mind, I took a pair of pliers and carefully bent back the inserts to make a mounting bracket that would hold the speakers selector up. I then took my drill and drilled a hole in each so that I could screw it into the project board. This worked perfectly, is very sturdy, and looks great!
If there is no music playing in the house:
Then the speaker system will output the speech to the correct room with no problem. If there is music playing in one or more rooms: Then leave the speakers on in the rooms where the music is playing AND turn on the speaker in the zone or zones I need to speak to. At the exact same time also turn the volume down to 15% on the music so that we don't startle the people in the rooms where there was no music playing before. Then output the speech to all the zones. The speech will be much louder than the music so that the rooms who need to hear what is being said can, and the rooms who are just listening to music still hear the speech in their zone too, but they at least won't loose the beat of the song they are listening to. Once it is finished speaking, it resumes everything back to the way it was quickly.
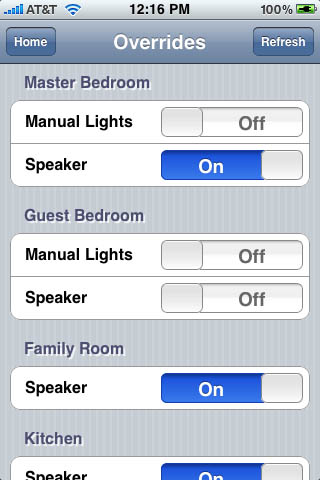 I also created a new iPhone interface page that is called overrides. This page lets you control which rooms have their speakers turned on or off so that you can manually override each zone you are in. The house still has the power to speak in the rooms with the override if it chooses, it just won't play music. There are also other things you can override in each zone as well such as automatic lighting. |
||||
© Jon Scott 2012 -- All Rights Reserved.